1. Assemble the required equipment and tools
You will need to bring together all important equipment, before you start plastering your ceiling. Keeping all the tools handy will reduce your project duration. If you need something in mid-project, you won’t need to get it from the market.
Here we have complied a list of the most essential supplies for plastering a ceiling:
- Plastering trowel;
- Plaster;
- Mixing stick;
- Sandpaper;
- Ladder;
- Sponge and clean water;
2. Prep the area
Plastering a ceiling is indeed a tedious job. As it involves balancing yourself on a ladder with a trowel full of wet plaster that you apply to the ceiling. Thus, there is a good chance that some wet plaster may spill on the floors and the surrounding area. The best way to avoid such a mess is to prep your area upfront.
Make sure to take off all possible furniture and other precious items from the room. If there is any remaining furniture cover it well with plastic sheets. Also, drop the plastic sheets on your room’s floor such that it is entirely covered. This way you can prevent plaster falling and settling on your hardwood.
Always wear renovation mask and old clothes while doing the plastering work. Clothes will protect your skin whereas the mask avoids plaster from going in your mouth.
3. Prep the surface
Make sure to first sand down any uneven patches on your ceiling. Once you have finished your project, you will not want these flaws to be visible. As you will need to clean them up again. Whether you have an old or new ceiling you must tidy it up to remove any hidden dirt. The best thing is that it is relatively easy to clean your ceiling. If you see any old cobwebs, remove them by using a vacuum. After this use a sponge and some soapy water clean up any remaining dust. Again sponge the ceiling with clean water to get rid of any remaining traces of the leftover soap.
Use a degreaser while plastering an area that has been exposed to oil. It’s because the plaster doesn’t set properly on an oily surface.
4. Mix the plaster
It is pretty much easy to mix the plaster. Use equal parts of plaster and water for mixing the plaster well. You can add more plaster to the water by using a mixing stick to get a smooth consistency. After you get the desired consistency move to the next step.
5. Effective Skim coating techniques to properly plaster your ceiling
Once your plaster has been properly mixed start plastering your ceiling. You will need effectively skim a coat in order to properly plaster your ceiling. Although this process is pretty much easy but you will need to gather some patience.
Always have someone to securely hold your ladder when you plaster the ceiling. After all, safety is the top priority. When skimming a ceiling with plaster, speck some clean water on the ceiling. After this add a small quantity of plaster to the edge of your trowel which contains the plaster to be applied to the ceiling. It will help you to create an even and thin layer. Spread the plaster in rows (about one metre long) for doing your job conveniently. And, don’t forget to take sufficient breaks in between your project.
Also use the rough edge of your trowel when you spread the plaster. It will assist you to create scratches or scrapes in the plaster. When the ceiling is fully coated, allow it to dry properly. It could take up to 48 hours based on the plaster type you apply. Once your plaster is properly set you can use the second coat and continue using the skim coating technique. Using these two fine layers will help you to get an even and smooth ceiling.
6. Sand and smooth out the surface properly
Whether or not you are skilled at skim coating your ceiling. You will end up with a few bumps through the process. So, don’t panic and remember that it has an easy solution. Make sure to grab a piece of sandpaper and sand the bumps away. With a little bit of hard work, you will get a smooth and even out ceiling ready to paint.
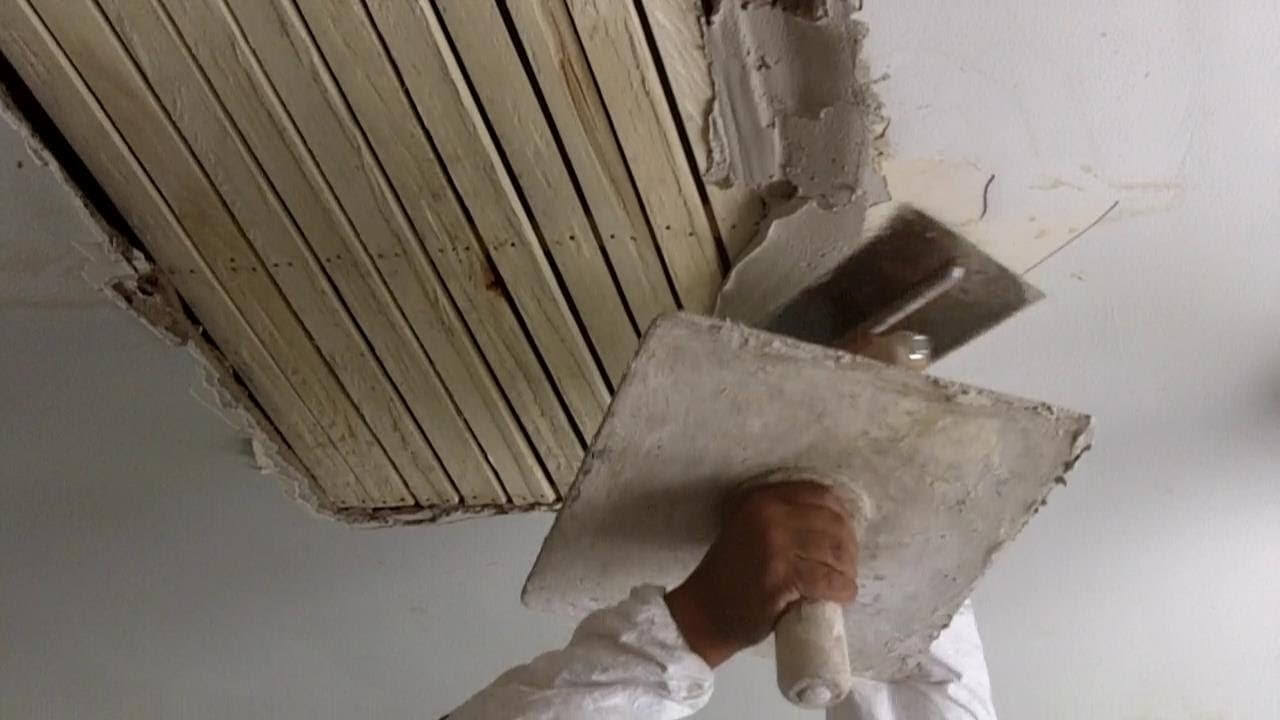
Repairing a hole or crack in the ceiling
If you need to patch up a hole in your ceiling, you’ll need to put extra efforts before you start plastering. Begin by brushing away any loose plaster particles. Then, fill the hole or crack with plaster. When you have a lath ceiling, ensure to surround the lath with the plaster. Now, leave it to dry completely.
After this, use a piece of wire mesh to cover the hole. When the wire mesh piece doesn’t stick well, secure it by using wooden dowels. This will strengthen the surface so that it remains strong throughout the project. You can also add another layer on the wire mesh. Once the plaster is set down properly, cut off any visible pieces of wire from the mesh. Sand down the hole edges in order to smooth and even them out.
Cost to Plaster a Ceiling
There are two main factors which influence the cost of plastering a ceiling. These are general state of repair and size of the ceiling. Generally, it cost more to plaster larger ceilings than smaller ones. As it takes more time and more supplies for plastering a larger ceiling. Another major factor is the state of repair of the ceiling. This means you will need money to plaster a ceiling which is in a poor state and there are more holes to patch up.
In order to get an accurate estimate of plastering costs for your ceiling. Start by measuring the square footage and then divide it by the surface that covers. This way, you will get a good idea about the number of plaster bags you need to purchase. Keeping this in mind, you’ll be able to assess the cost of materials required.